

画像をインポートする
今回は、1枚の画像に複数の素材があるときの、Unityでの切り分け方を紹介していきます!
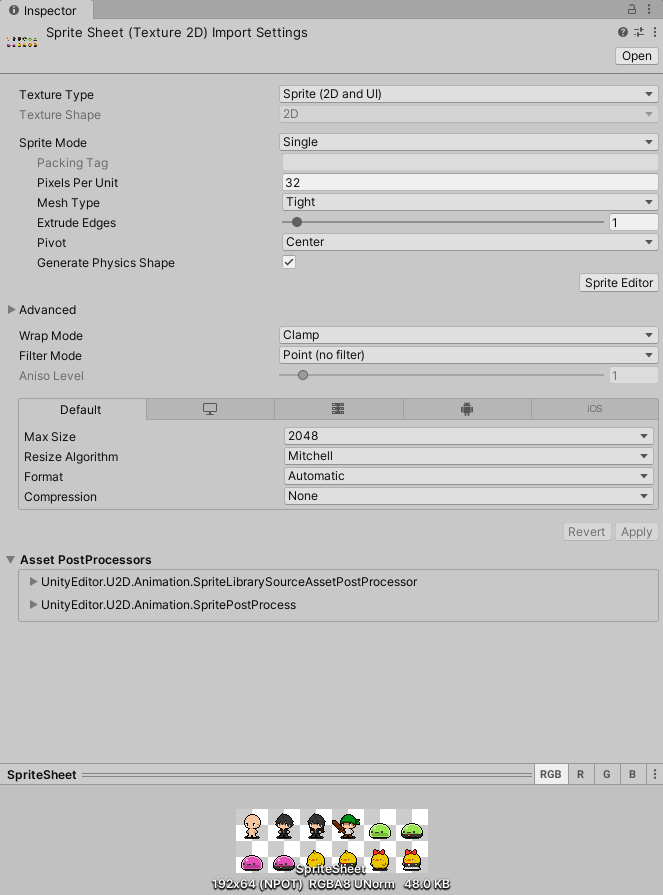
まずは、画像をUnityにインポートします。
今回の画像はドット絵なので、インポートしてすぐの設定では、ぼやけて表示されてしまうので、少し設定を変更しています!
以下の記事で詳しく紹介していますので、良ければこちらの記事もご覧ください!
画像を切り分ける
画像をインポートしたら、切り分けて使うための設定を行っていきます。
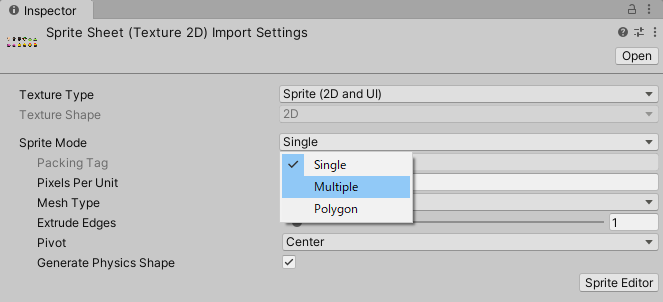
画像の、InspectorのSpriteModeをMultipleに変更します。
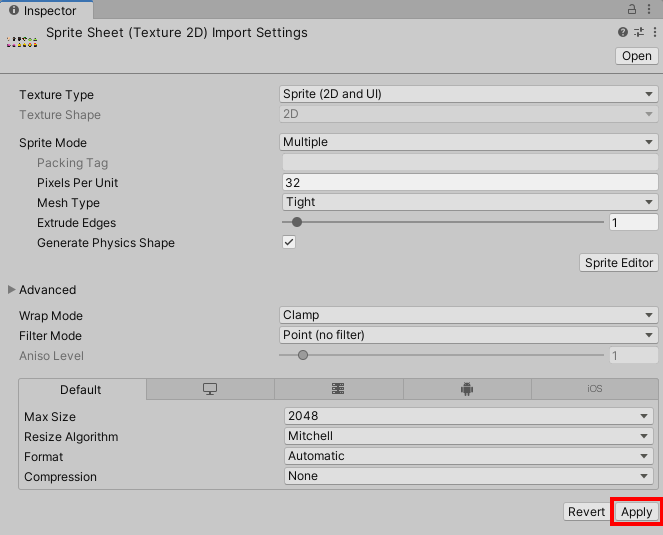
変更したら、右下のApplyをクリックして変更を保存します。
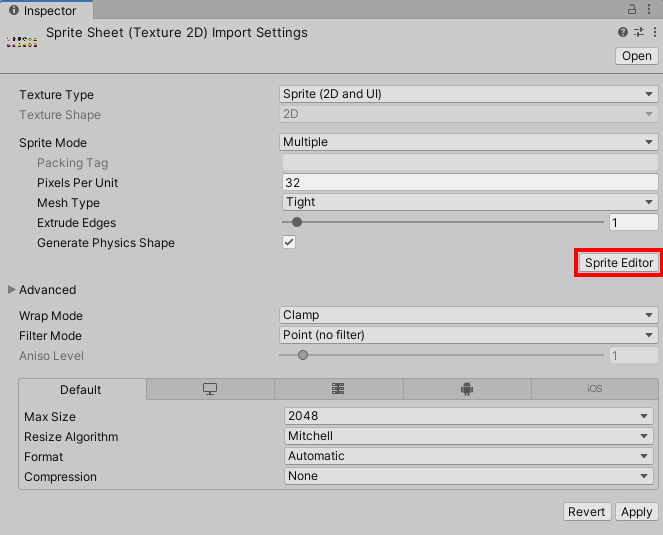
保存をしたら、SpriteEditorをクリックして、画像を切り分けていきます。
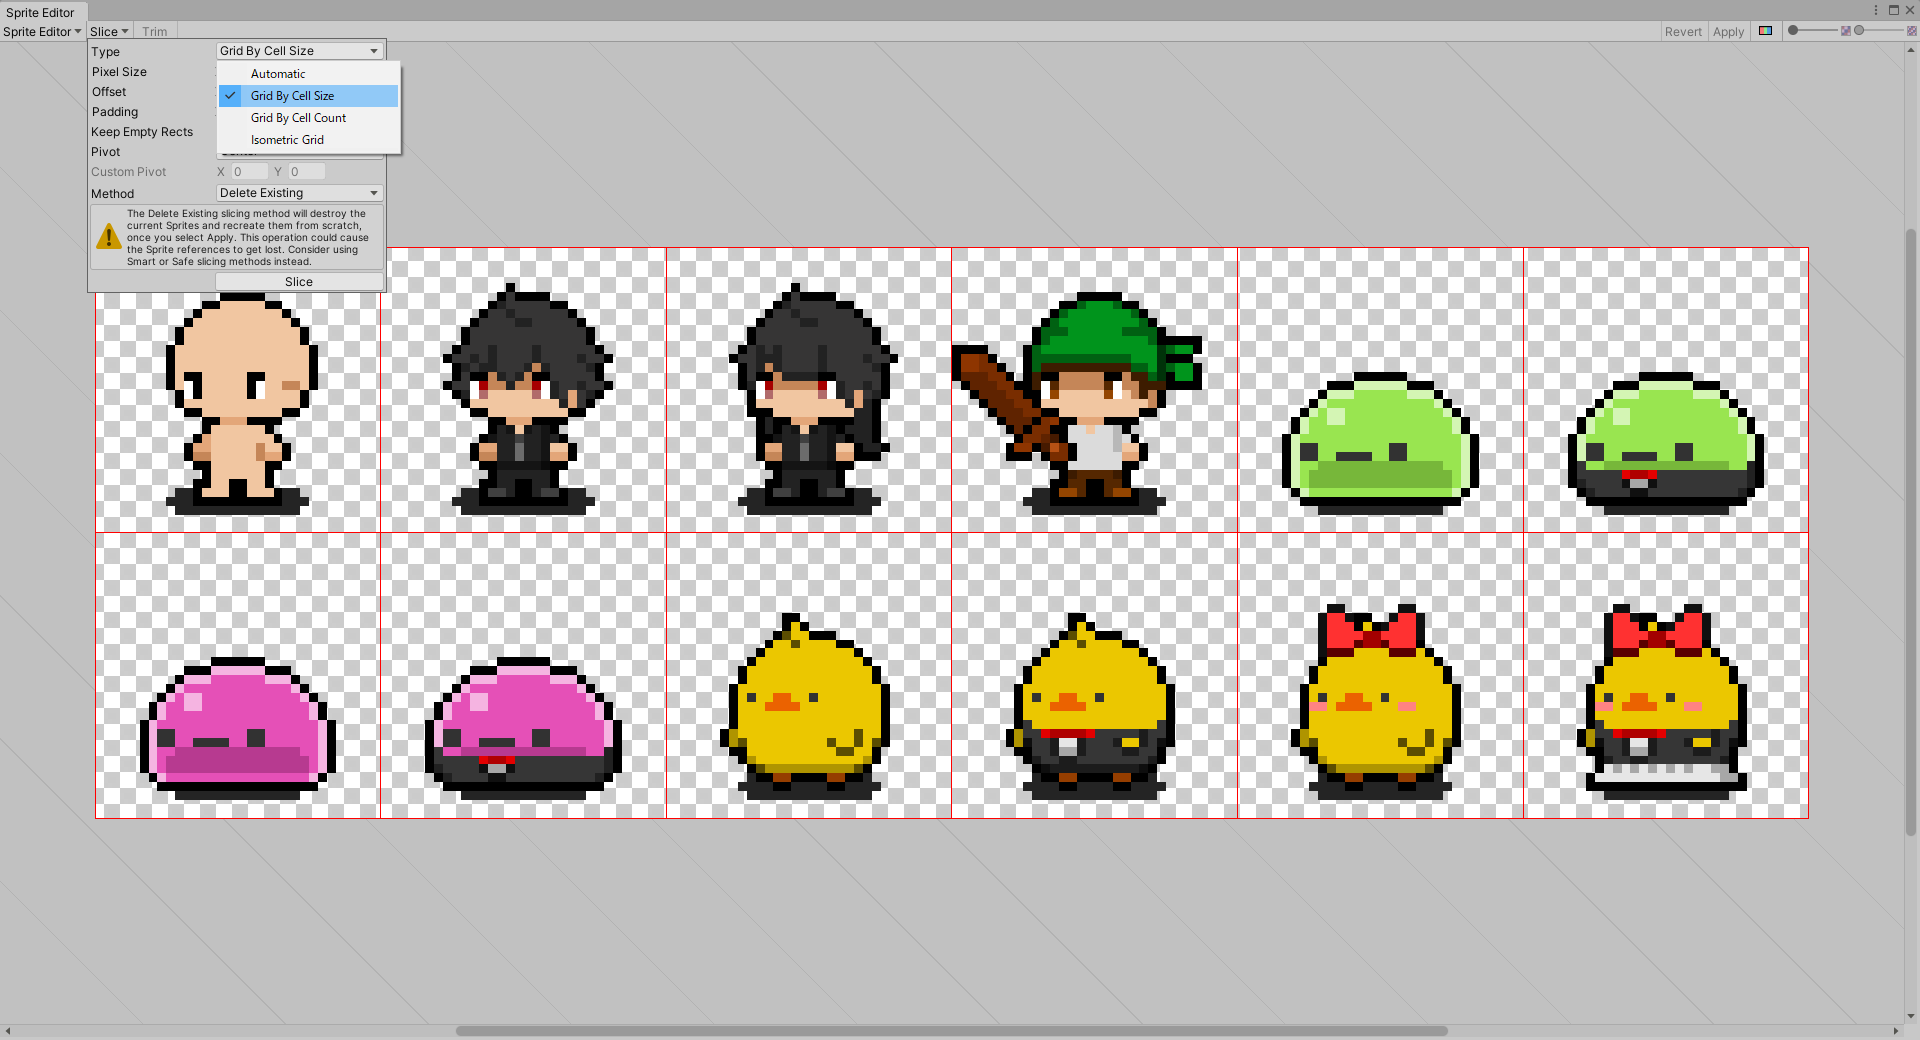
Editorを開いたら、画面左上のSliceを選択、TypeからGrid By Cell Sizeをクリックして選択します。
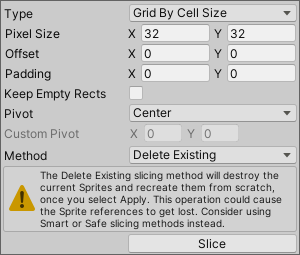
今回の画像は、1マス32x32の画像なので、PixelSizeをX=32,Y=32に設定します。
設定したら、Sliceをクリックして、画像を切り分けます。
これで切り分ける作業は終了です!
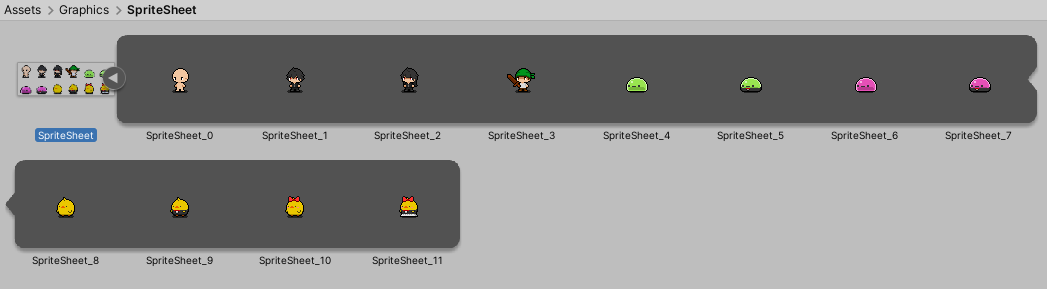
Unityのメイン画面に戻って、画像の横にある、▶マークをクリックして複数の画像に切り分けられていたら、成功です!
お疲れさまでした!