

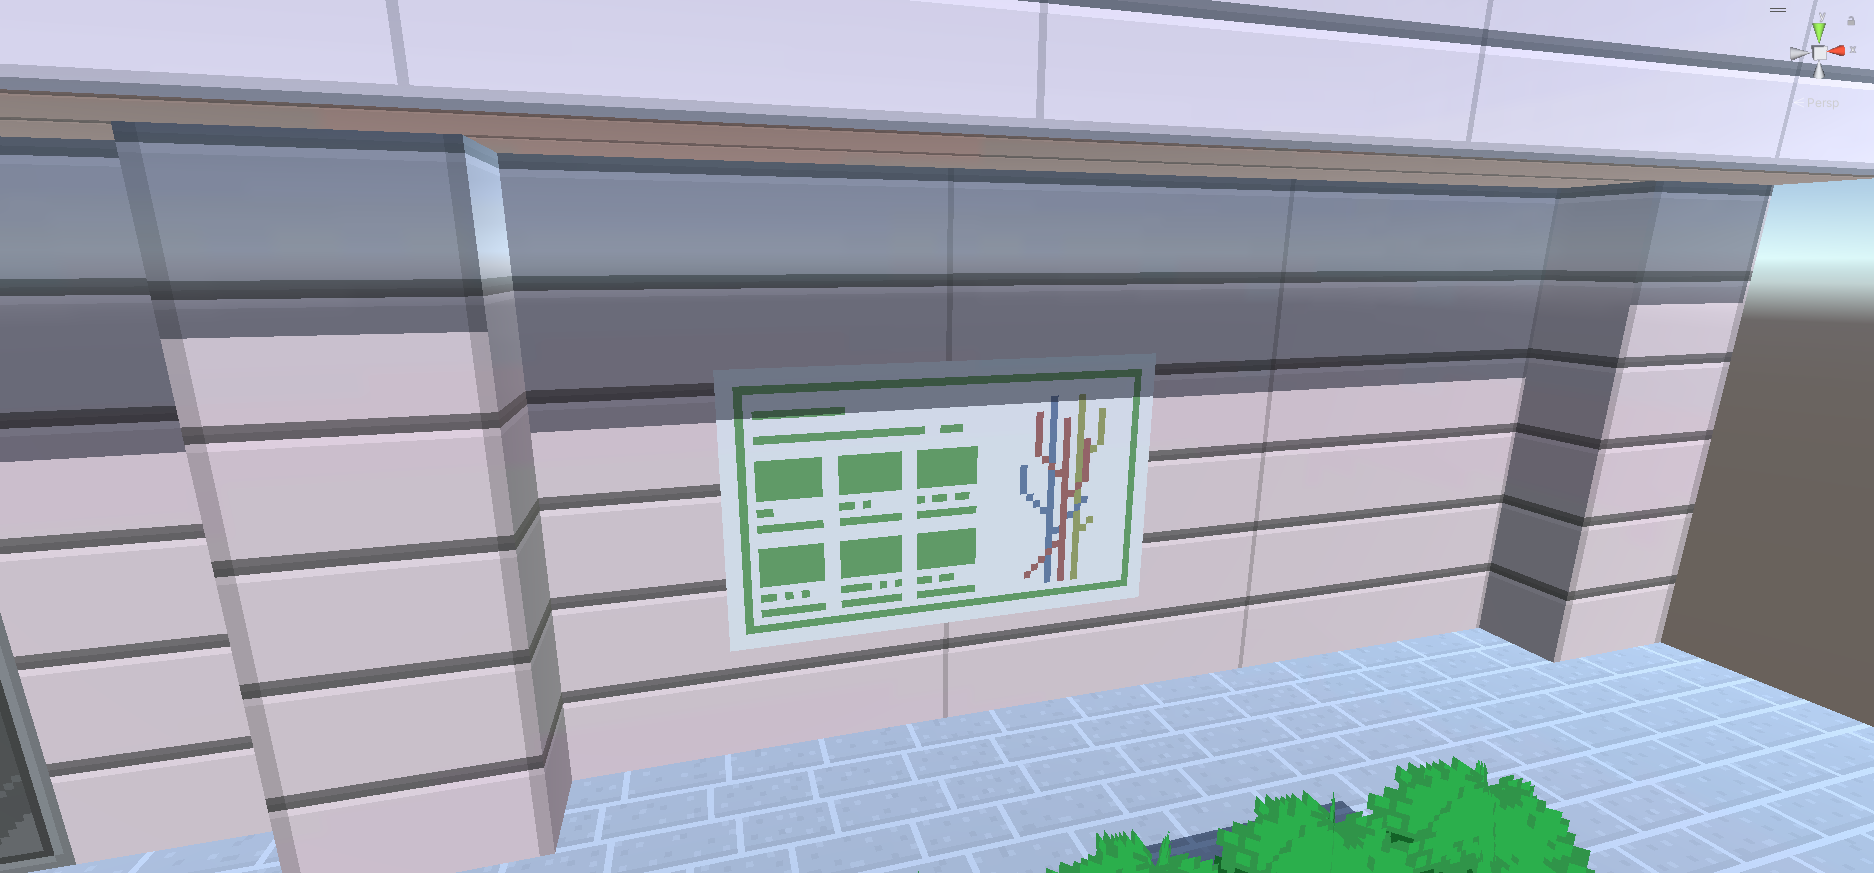
今回は、3DゲームのシーンにSpriteRendererのオブジェクトを配置したときに、影を反映させる方法を紹介します!
マテリアルを作成する
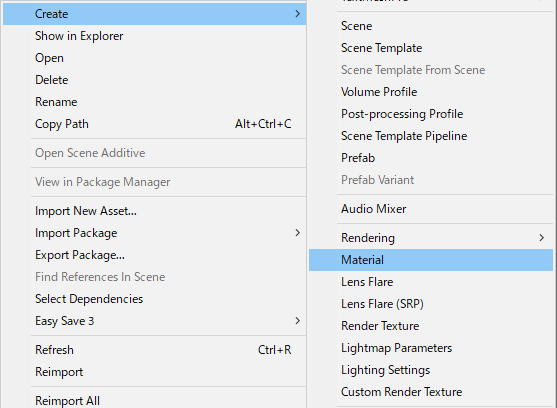
まずは、SpriteRenderer用のマテリアルを作成します。
Projectウィンドウで右クリック → Create → Materialをクリックしてマテリアルを作成
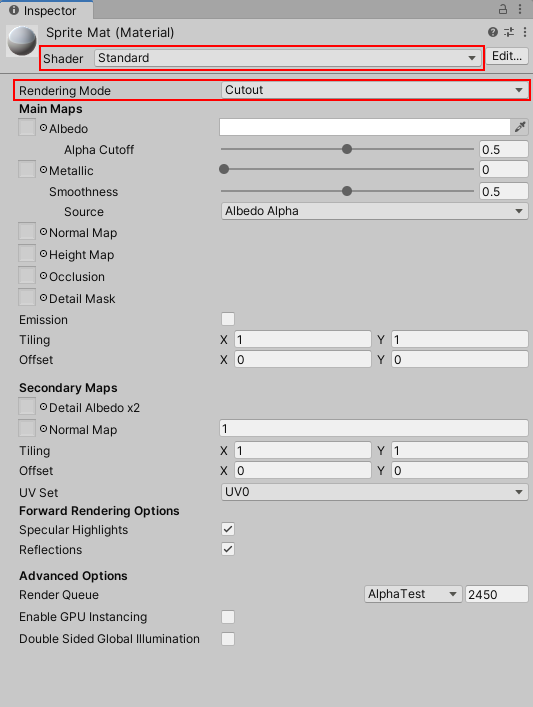
次は、作成したマテリアルの設定を行います。
①ShaderをStandardに設定
②RenderingModeをCutoutに設定
マテリアルをSpriteRendererに設定する
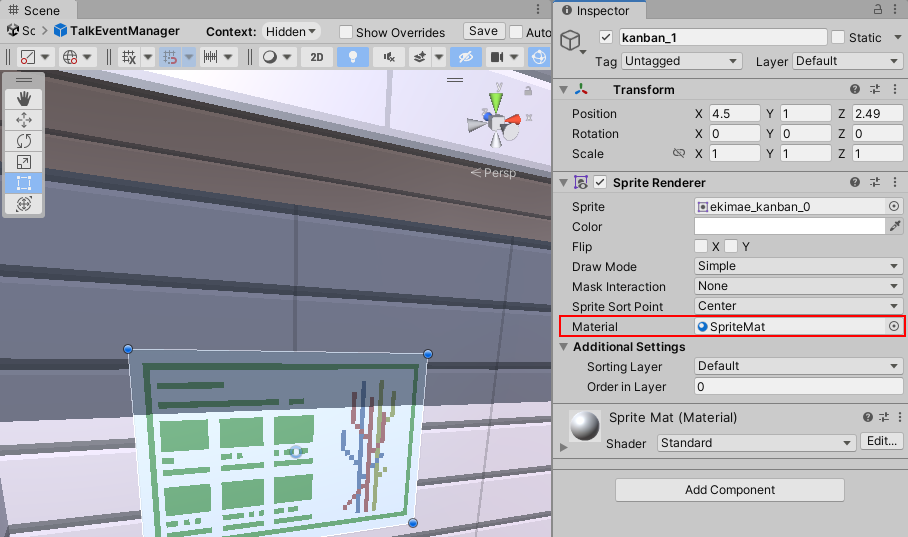
影を付けたいオブジェクトを選択して、SpriteRendererのMaterialに先ほど作成したMaterialを設定します。
マテリアルを設定するだけでは影が適応されないので、SpriteRendererの設定をしていきます。
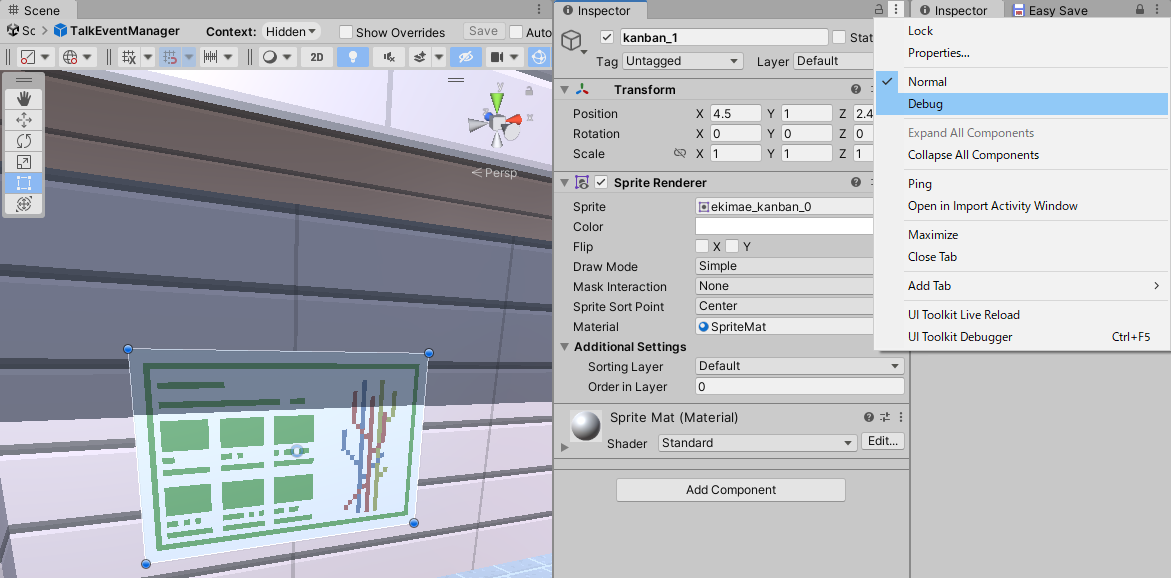
Inspectorウィンドウの右上の…をクリックして表示モードをDebugに変更します。
Debugモードにすると、Inspectorに表示される内容が細かくなります。
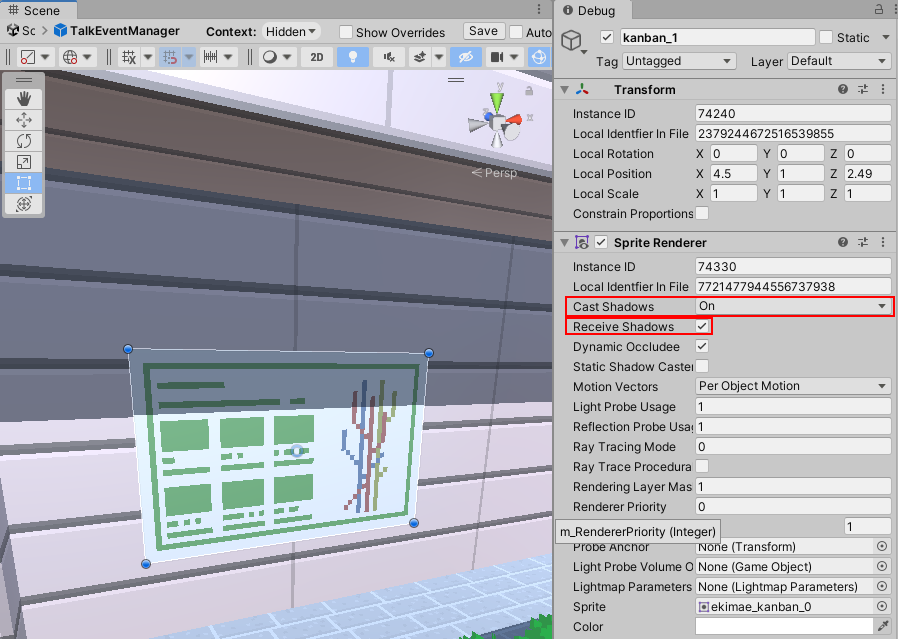
影を適応するには、
①CastShadowをOnに設定(影を生成する)
②Receive Shadowsにチェックを入れる(影を受け取る)
これで、SpriteRendererに影を適応することが出来ます!
お疲れさまでした!